Virtual trade show | Máquina herramienta

Touch probes, vision systems and sensors
for workpiece and tool setup and inspection

Gain productive time and process reliability through in-process tool and workpiece monitoring.

The new VT 122 measuring camera: 3 roles in 1 system: tool presetter, tool microscope and visual tool inspector

The HEIDENHAIN TS 460 and TS 760 touch probes reduce probing time by up to 30%.

The new TD 110 tool breakage detector saves 6 seconds per tool change during breakage inspection.

The new VT 122 measuring camera:
Three solutions in one intelligent system

The functions of a tool presetter, tool microscope and visual tool inspector can now be handled by a single system: the VT 122 measuring camera with smart VTC software from HEIDENHAIN. Taken from within the machine envelope, the images shown on the screen of your control provide an accurate look at the tool’s cutting edge accompanied by reliable facts for a holistic evaluation of your tools. The vision system can automatically measure a tool’s length, diameter and wear width, transmitting this data to the TNC control. Leverage detailed tool inspection without a trip to the metrology lab.

Nuevo

TD 110 inductive tool breakage detector

Reduce your non-cutting time and improve your process reliability through efficient tool inspection. The new HEIDENHAIN TD 110 tool breakage detector is a compact and robust device installable within the machine envelope as a retrofit. From its position next to the machine table, the TD 110 performs breakage inspection for tools with at least 2 mm in edge length as they pass by under full operational rotation. The resulting signals are sent to the control over the machine’s touch probe interface. The control can then send a message, trigger an NC stop or perform a user-specified reaction, thereby improving process reliability.

A perfect combination: The TD 110, TNC7 and StateMonitor software

Respond faster to broken tools with the combined functionality of the TD 110 tool breakage detector, the TNC7’s tool inspection cycle and StateMonitor’s Messenger function.

The TD 110 inductive tool breakage detector

Pass the tool by the detector to increase process reliability and reduce non-productive time during inspection while the spindle is rotating at operational speed.
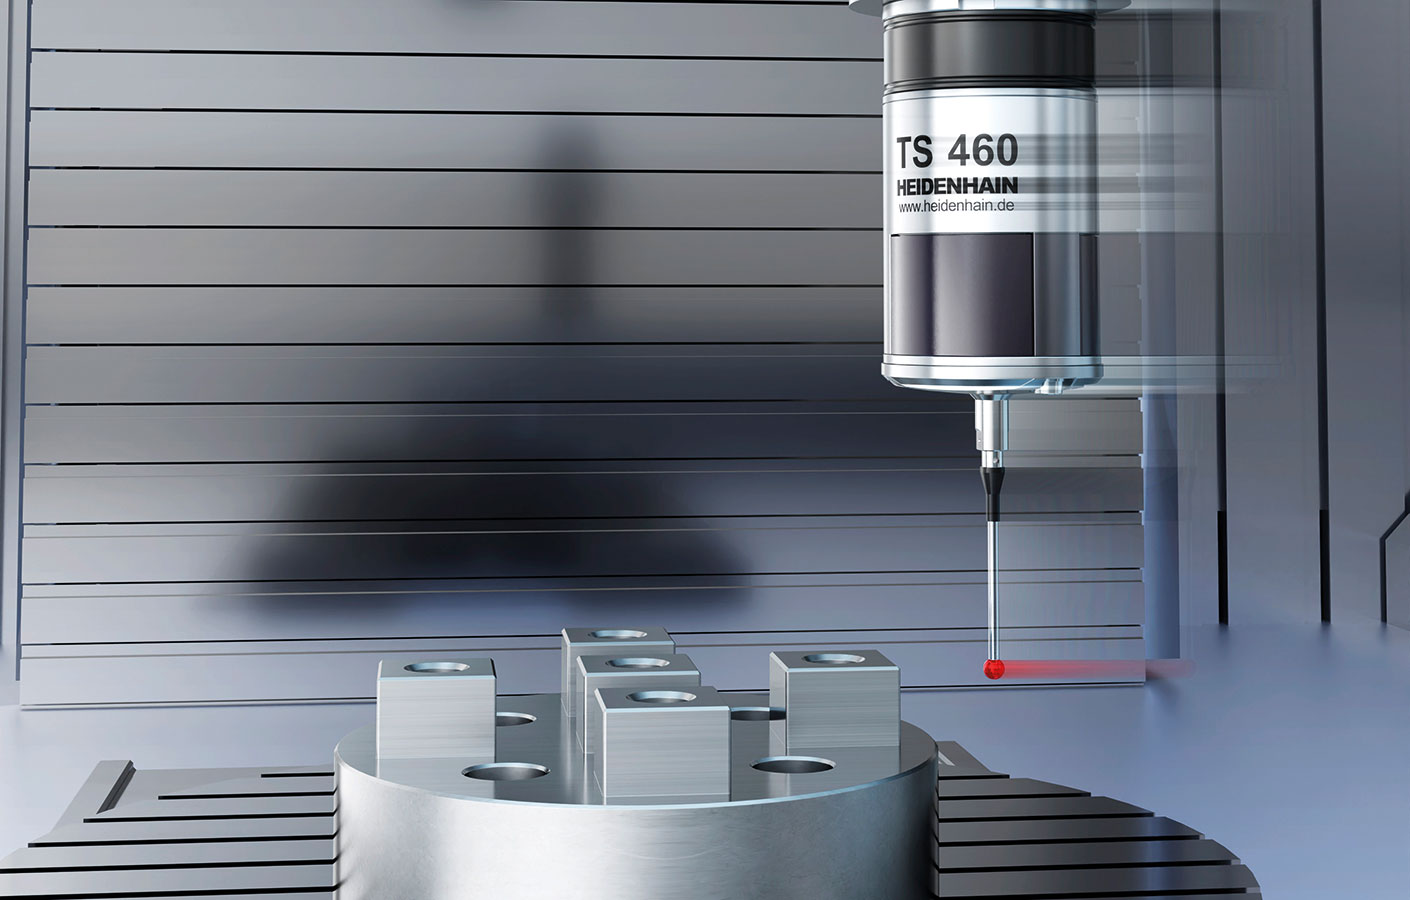
TS 460: probing times reduced by 30%

The TS 460 workpiece touch probe is capable of very high measuring speeds up to 3000 mm/min. In combination with the probing cycles of the TNC controls, this makes it possible to reduce probing times by up to 30%, which in turn frees up valuable productive time for the machinist. Effective collision protection and reliable workpiece cleansing also increase process reliability and ensure correct results.

The TS 760: high accuracy and probing sensitivity

The new TS 760 touch probe from HEIDENHAIN enables workpiece measurement with particularly high 3D accuracy and very low probing forces at dynamic measuring feed rates of up to 1000 mm/min. This makes it ideal for precision parts in moldmaking and highly sensitive workpieces. Benefit from these additional features:

  • Compact design
  • Integrated blower jets
  • Full compatibility with the TS 460